Restoring a faded leather handbag at home lets you save money and keep your favorite bag looking good. This guide breaks down leather bag restoration into clear steps: assessing your bag, proper cleaning, conditioning, optional color restoration, and how to protect the results.
Before You Start: Know Your Leather
Not all leathers react the same way to cleaning and restoration. Common types found in handbags include:
- Full-grain leather is durable and usually easier to bring back.
- Top-grain leather is somewhat less robust, but still responds well to careful cleaning and conditioning.
- Corrected-grain, nubuck, or aniline leathers are often more delicate. Extra caution is required—these may darken or change texture more easily. Avoid soaking or harsh cleaning.
- Suede needs special products and a different approach.
Check your handbag’s care label or, if in doubt, test any product on a hidden area first.
Step 1: Inspect the Handbag
- Look for stubborn stains, ink marks, scratches, or deep scuffs. Deep stains and cracks may need professional help.
- Check seams, handles, and hardware. Identify loose threads or loose lining.
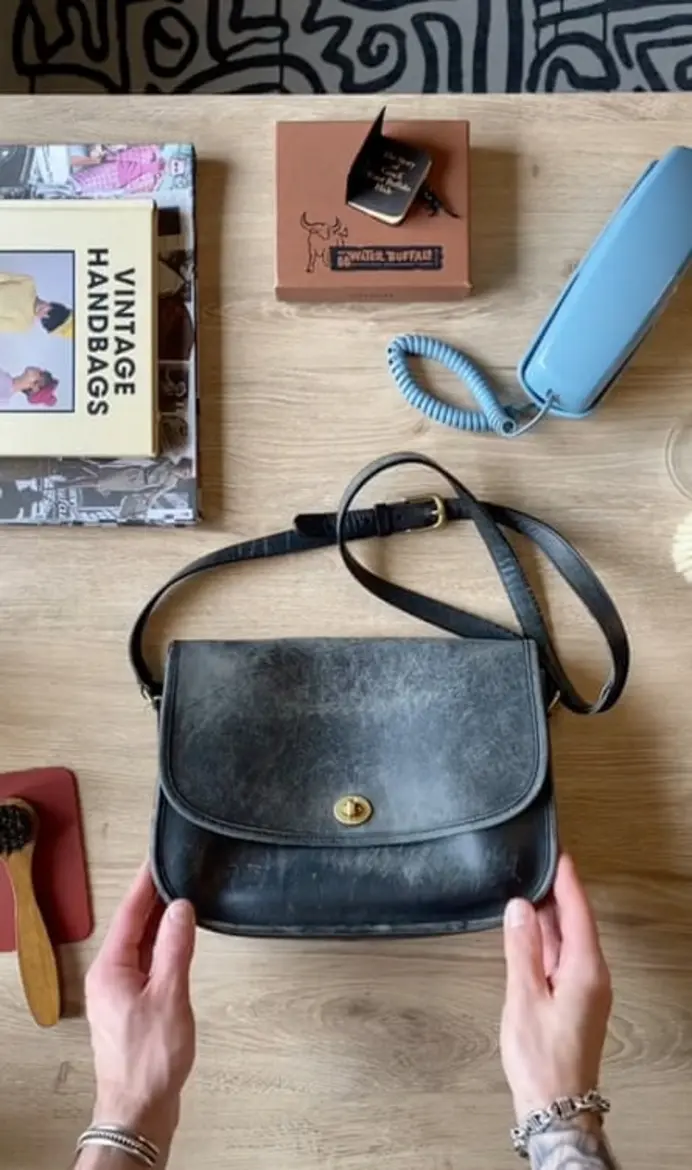
- Consider the degree of fading (light, moderate, or heavy). This determines if cleaning and conditioning are enough, or if re-coloring is required.
Step 2: Gather Your Supplies
- Soft, clean microfiber or cotton cloths (for cleaning and buffing)
- Small bowl and water
- A leather cleaner approved by the manufacturer for the bag’s specific leather type and finish
- Mild soap and water only if explicitly permitted by the manufacturer’s care instructions
- Leather conditioner or cream (for the leather type)
- Leather dye or color restorer (if deeper color restoration is needed)
- Soft brush (horsehair or similar, for dust removal)
- Gloves (especially if using dye)
- Old newspapers or stuffing material (to help shape the bag during drying)
- Masking tape (to protect hardware, if using dye)
Step 3: Cleaning the Bag
3.1 Remove Dust and Surface Debris
- Use a dry, soft brush or cloth to wipe away dust and debris from the exterior and seams.
- Turn the bag inside out or open all compartments, removing crumbs or dirt.
3.2 Clean the Interior (Optional)
- Empty the bag and shake it gently.
- For fabric linings, use a lint roller or fabric brush. If the lining is leather, be extra gentle and clean as per the next step.
3.3 Clean the Exterior Leather
- Follow the manufacturer’s care instructions and the approved cleaner’s directions. Use diluted soap and water only if those instructions explicitly permit it; otherwise use the specified product or seek professional care. Test on a hidden area first and do not soak the leather.
- Gently wipe the leather in small sections, using circular motions. Don’t saturate the leather.
- Remove any residue as directed by the product and handbag manufacturer; use a damp cloth only where permitted.
- Pat the bag dry with a dry cloth.
- Leave the bag to air dry fully. Do not use direct heat or sunlight—it can cause further fading or warping.
Step 4: Conditioning the Leather
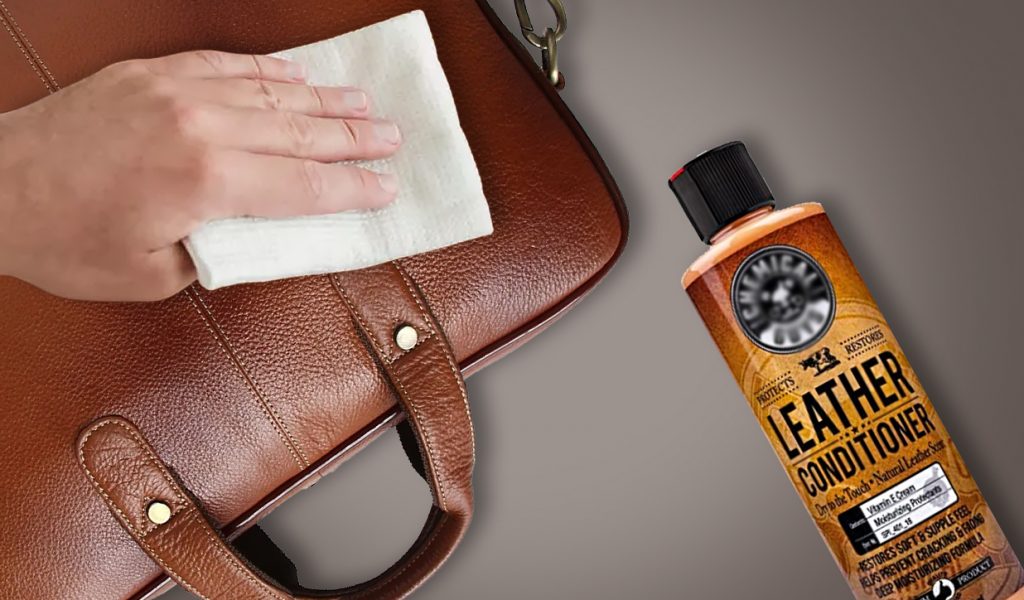
Leather loses natural oils over time, making it appear dull, stiff, or faded. Conditioning replenishes moisture and can revive color depth.
- Choose a conditioner suited to the leather type (non-darkening for lighter leathers, richer for heavily faded or dry leather).
- Put a small amount on a soft, clean cloth.
- Gently massage into the leather using circular motions, including seams and corners.
- Let the conditioner absorb for at least 30 minutes. For very dry leather, a second round might help, but avoid oversaturation.
- Buff gently with another clean cloth to remove excess and even out any streaks.
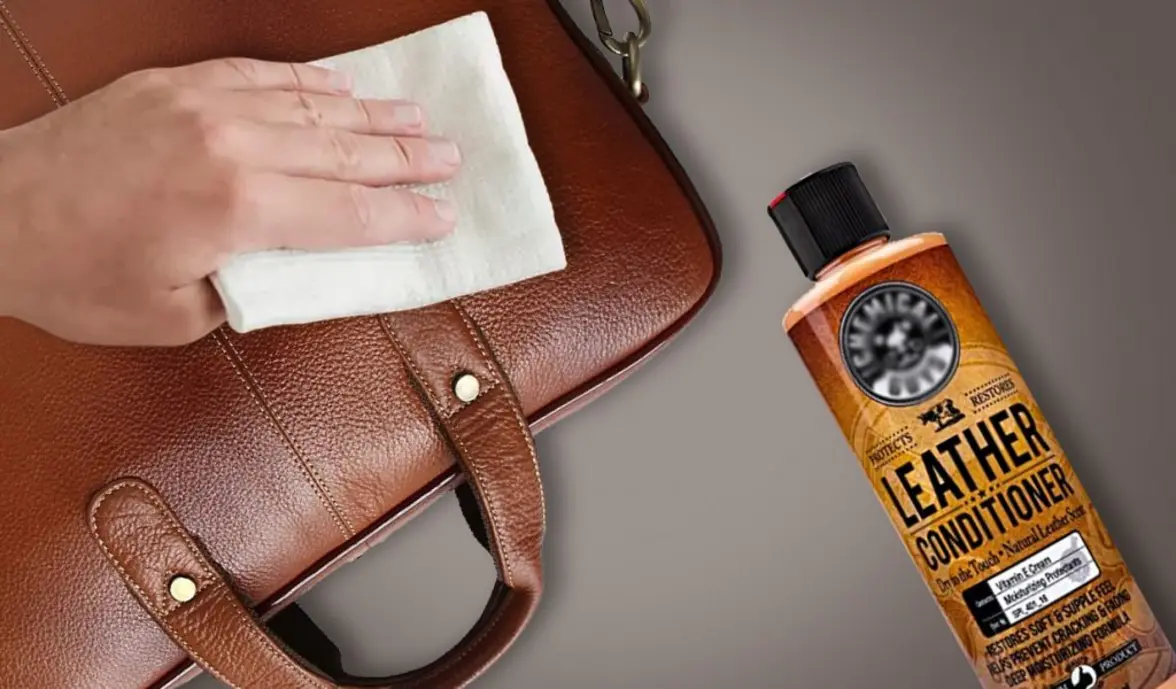
Image source: tumbledry.in
Caution: Not all conditioners are suitable for all leathers—test in a hidden spot first, especially with absorbent or naked finishes, where darkening is likely.
Step 5 (Optional): Color Restoration for Heavily Faded Leather
If cleaning and conditioning don’t restore enough color, consider a leather color restorer or dye:
- Choose a product designed for the bag’s type and original color. Dedicated leather restoration creams are easiest to control.
- Always test on an unseen part of the bag first. Results vary depending on original dye, finishing type, and leather porosity.
- Use gloves and mask off metal hardware and lining with tape as needed.
- Apply with a soft cloth, sponge, or applicator as directed, in thin, even coats. Let each coat dry fully before applying more. Avoid overapplication, which can streak or cause uneven color.
- Allow the bag to dry completely in a ventilated place—no sunlight or direct heat.
- Reapply conditioner afterward to restore suppleness.
Step 6: Shape and Dry
Reshaping helps the bag return to its intended silhouette:
- Stuff with balled-up clean paper or towels to support structure as it dries,
- Close zippers and buckles to maintain form during the drying process.
Step 7: Protect the Restored Bag
Ongoing protection prevents future fading or damage:
- Store properly: Keep your bag in a cool, dry place out of direct sunlight. Use a soft cotton dust bag if available.
- Avoid overstuffing: Prevents stretching or loss of shape.
- Handle with clean hands: Oils and dirt can accelerate fading and staining.
- Use a leather protector: Spray or apply a dedicated leather protectant if the bag is handled frequently or exposed to rain. Always check if it’s safe for your leather type.
- Clean and condition regularly: For bags in regular rotation, aim for a light cleaning and conditioning session every few months.
- Avoid harsh chemicals: Do not use alcohol, bleach, or general household cleaners on leather.
Tips for Prolonging Restoration Results
- Repeat conditioning and protection steps every few months, or following exposure to rain or spills.
- Be cautious with contact dyes (such as from dark denim or bright clothing) and wipe bag surfaces soon after exposure.
- Wipe down the bag after each use for light maintenance, especially during humid or rainy weather.
- For visible scratches or scuffs, light buffing with a dedicated leather balm can minimize appearance between deeper restorations.
When to Seek Professional Help
- Major tears, deep cracks, extensive ink stains, or dramatic color changes often require professional tools and experience.
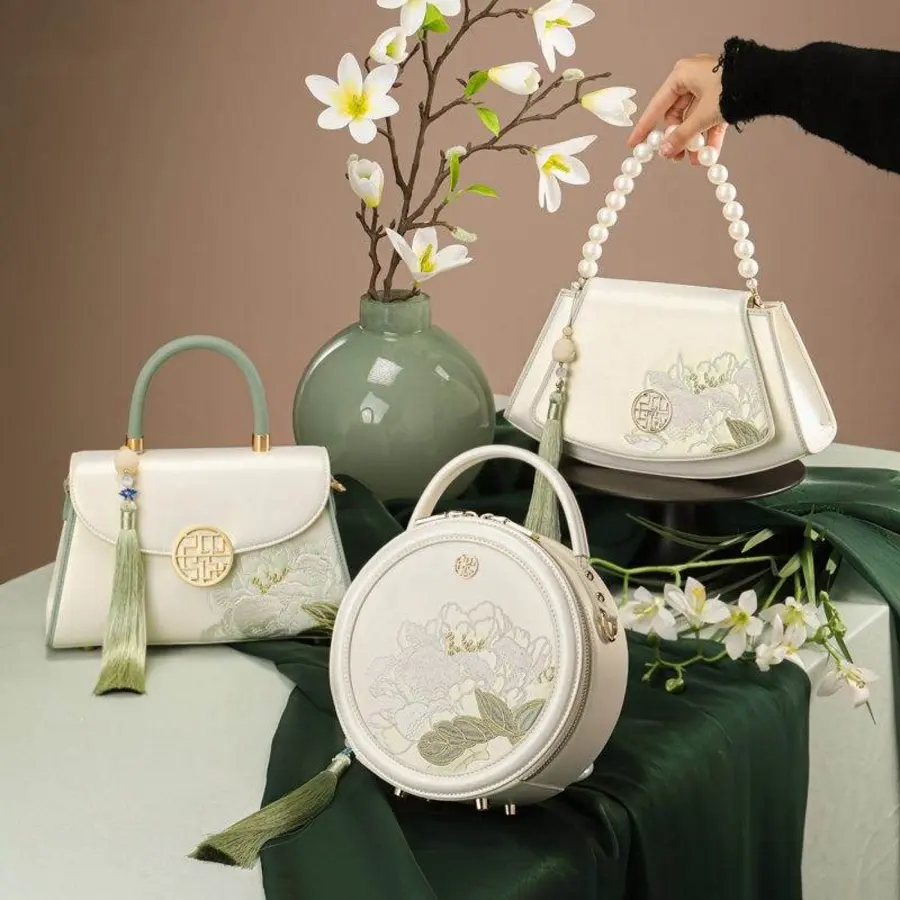
- For vintage or highly valuable pieces (including vintage Chinese embroidery or rare finishes), avoid DIY dyeing or over-cleaning.
- Complex or luxury designer bags may have special finishes or coatings that react unpredictably—always err on the side of caution.
Summary Table: Safe Home Leather Bag Restoration Steps
| Step | Task | Caution/Tip |
|---|---|---|
| 1. Inspection | Check leather type and fading degree | Only proceed with safe home restoration |
| 2. Gather | Prepare cloths, cleaner, conditioner, etc. | No harsh chemicals or abrasive tools |
| 3. Cleaning | Remove dust; use manufacturer-approved cleaner | Avoid soaking, always air-dry |
| 4. Condition | Apply leather conditioner sparingly | Test first, buff gently |
| 5. (Optional) Dye/Color | Apply color restorer if needed | Test, mask hardware, thin layers |
| 6. Shape | Stuff and dry in shaded area | Never use heat or direct sun |
| 7. Protect | Store, handle, and maintain suitably | Use compatible protectant, light cleaning |
Restoring a faded leather handbag is straightforward with care and patience. Follow the steps, select products for your leather type, and your bag can look fresh and last longer—without expensive professional repair.